

In our last house, I had made cornice boards for the kitchen & living room, and got asked often how to make them. Since they are so easy (and cheap) I figured when I made these, I would post it up. Unfortunately for me, I picked a fabric that melted under an iron, so mine are wrinkled and I hope over time they will relax out.
Here's where to start:
- Measure the outside of your window to decide how wide you want these. I tend to measure the window sill and add 1 inch.
- Pick your fabric and get enough to wrap that length. I normally buy at a fabric store by the yard, but since I wanted these to match the curtains in the kitchen, I bought 2 extra curtain panels and used those.
- Go to Home Depot and buy a 2x4 that is really nice. Even a really nice 2x4 is cheap if you just need 1. They will cut it for you, just tell them how long you want it.
- You also want to pick up L brackets. The pack I buy is a few bucks and has a 2 inch brace, which is perfect for a 2x4. 4 come in a pack normally, so I did both windows with one pack.
- Get a box. For these, I had to get a XL box, but just get enough cardboard that when you cut the panels open you can cover your 2x4. I get mine at Home Depot while I'm there.
- If you don't have one, get a staple gun. But you should have one. It's my favorite tool in the garage.
- At your local fabric store, you will need quilt batting. I got a Queen size one and it was more than enough for these 2, so just buy what you need.
- You also need a hot glue gun, pencil, scissors, and preferred a rotary cutter and packaging tape.

Once home with all the goodies, cut the box panels apart. I use a Fiskars rotary cutter and lay the box on the 2x4. I don't have a cutting mat long enough for a whole box, and this keeps me from cutting up the floor or a table. You could also use scissors, but the rotary is much quicker.

Next, using the natural fold on 2 of the panels, measure the 4 inches up and draw a line with your pencil. It's much easier to use the natural fold than to try to force fold it.

Staple gun these two panels to the 2x4 as shown above.

Cut a 3rd panel to fit the gap and staple it in place. I also then use packing tape between each panel to stabilize.

Cover it with quilt batting and cut it down so you have enough excess to wrap over, but not too much to handle.

Using the hot glue gun, secure the batting to the 2x4 and cardboard. I use my staple gun on the back of the 2x4 to make sure it is really kept in place, but mostly I just like using the staple gun.
Repeat the batting steps with your fabric. Cut to size, wrap, secure with hot glue.
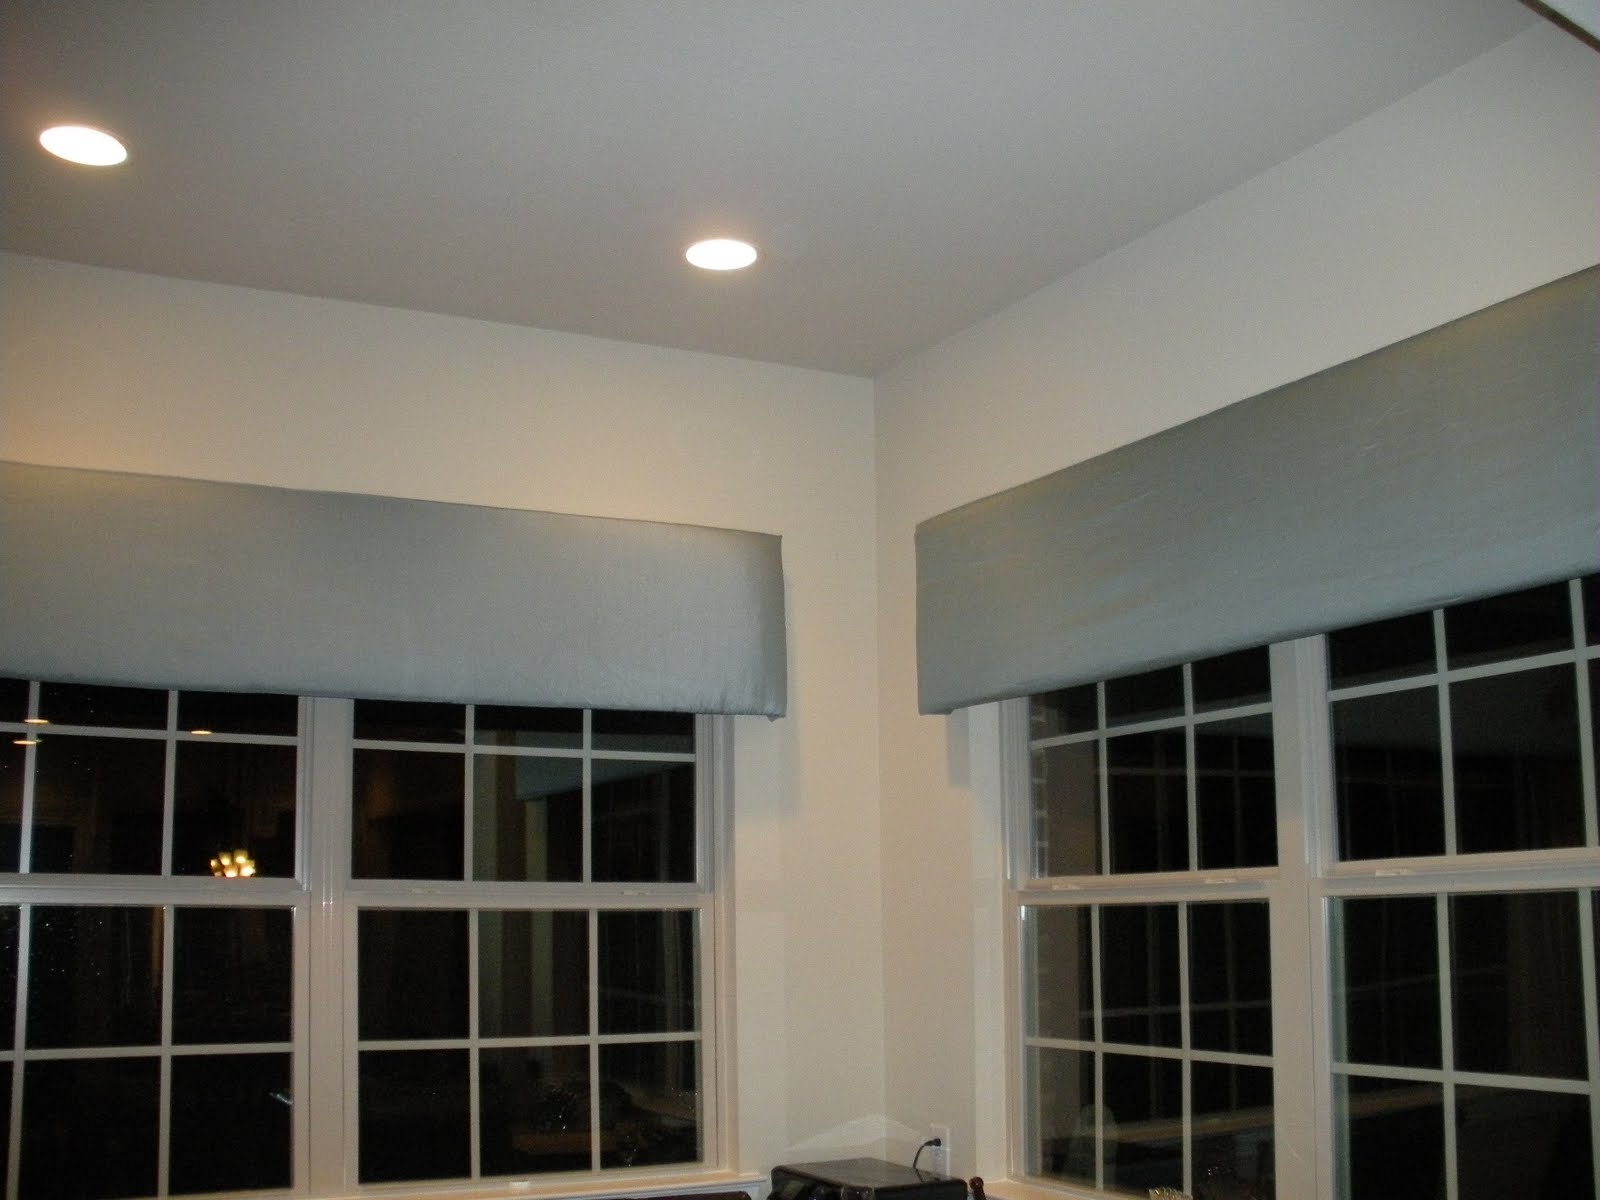
Attach the brackets to the wall above the window. Lift and rest the cornice board on the bracket. I do not attach my cornice boards to the brackets, but if it were hanging above my head I probably would to be on the safe side. They aren't terrible heavy, but I still would want to make sure it couldn't fall on someone.
Each panel takes about 1 hour to complete when they are as large as what I did, with the first one being a little longer than the 2nd. The small ones I have done are much quicker.
Happy Window Coverings!


No comments:
Post a Comment